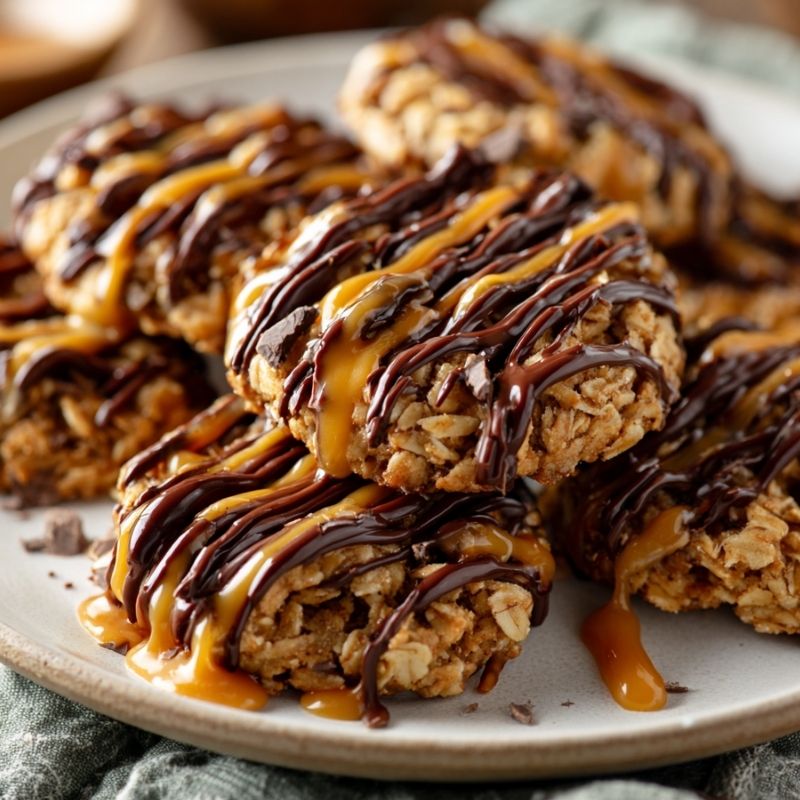
Crispy Chocolate Mint Thumbprint Cookies
The December air in Chicago was unusually mild, yet the windows at Café Hestia still fogged up with warmth as the bakery filled with regulars escaping the gray afternoon. Two college friends, Mia and Brandon, had claimed their usual corner booth, revisiting memories and half-finished dreams while sipping matcha lattes.
Across the room, Mrs. Patel unwrapped a wool scarf from her twin daughters, nudging them gently toward the cookie display with a knowing smile. That day, I was there too behind the counter, testing a small batch of Chocolate Mint Thumbprint Cookies for our winter feature board.
These cookies had been a late-night brainstorm after a neighbor’s holiday party, where peppermint bark disappeared faster than the appetizers. I’d scribbled ideas on a napkin during the Uber ride home, and three test runs later.
This version emerged with the perfect balance: a rich cocoa base, soft in the center, with a cool minty core and white chocolate drizzle to finish. Watching customers bite into them eyebrows raising, shoulders relaxing felt like hitting the note you didn’t know the song needed.
Later that evening, I baked another batch at home, sharing them with my cousin June and her partner as we wrapped gifts on the floor. We laughed too hard over tangled ribbons and accidentally glued bows to the cat. The cookies cooled quietly between us, adding that familiar aroma of chocolate and sugar to a night that needed nothing more.

Short Description
Chocolate Mint Thumbprint Cookies are rich cocoa-based cookies filled with a creamy mint fudge center and drizzled in melted chocolate. They’re festive, flavorful, and perfect for holiday gatherings or cozy winter nights.
Key Ingredients
For the Cookie Dough
- 1 cup butter, room temperature
- 2 cups white sugar
- 2 eggs
- 2 teaspoons vanilla extract
- 3 cups all-purpose flour
- 1 cup unsweetened cocoa powder
- ½ teaspoon salt
- ½ teaspoon baking soda
- ½ teaspoon baking powder
- 2 ounces chocolate almond bark
For the Mint Fudge Center
- 1½ cups white chocolate chips
- ½ of a 14 oz can sweetened condensed milk
- ½ teaspoon mint extract
- Green food coloring (as desired)
Tools Needed
- Stand mixer or handheld mixer
- Mixing bowls
- Baking trays
- Parchment paper or silicone mats
- Measuring cups and spoons
- Double boiler or microwave-safe bowl
- Spoon or piping bag (for filling)
- Cooling rack
Cooking Instructions
Step 1: Prepare the Dough
In a large bowl, cream together the butter and sugar until light and fluffy. Add the eggs one at a time, mixing well after each addition. Stir in the vanilla extract. In a separate bowl, whisk together the cocoa powder, flour, salt, baking soda, and baking powder.
Gradually add the dry ingredients to the wet mixture until fully combined and smooth. If the dough feels sticky, chill it in the refrigerator for 15 minutes.
Step 2: Shape and Bake the Cookies
Preheat the oven to 350°F (175°C). Roll the dough into 1-inch balls and place them on a parchment-lined baking tray, spaced about 2 inches apart. Gently press a thumbprint or the back of a rounded spoon into the center of each ball.
Bake for 12 minutes until the edges are set and centers slightly soft. Immediately after baking, gently press the centers again to deepen the indent. Cool on the tray for 2 minutes, then transfer to a cooling rack.
Step 3: Make the Mint Filling
In a double boiler or microwave-safe bowl, melt the white chocolate chips with the sweetened condensed milk, stirring until smooth and glossy.
Remove from heat and stir in the mint extract and green food coloring to your preferred shade. Spoon the mint filling into the center of each cooled cookie.
Step 4: Drizzle and Finish
Melt the chocolate almond bark in a microwave or over low heat until smooth. Use a spoon or fork to drizzle over the tops of the cookies. Let the drizzle set completely at room temperature before storing or serving.
Why You’ll Love This Recipe
Deep chocolate flavor with a smooth, soft texture
Cool mint center adds a festive twist
Visually stunning and perfect for gifting
Freezes beautifully for make-ahead planning
Great for cookie exchanges or holiday platters
Mistakes to Avoid & Solutions
Mistake 1: Dough Too Sticky to Handle
Solution: Chill the dough for 15–20 minutes. You can also dust your hands with cocoa powder when rolling to prevent sticking.
Mistake 2: Thumbprints Cracking at the Edges
Solution: Ensure the dough isn’t too cold or too dry. If cracking happens, reshape gently before baking.
Mistake 3: White Chocolate Seizing
Solution: Melt slowly over low heat and avoid letting water touch the chocolate. Stir gently, and use a double boiler if possible.
Mistake 4: Cookies Too Hard After Cooling
Solution: Don’t overbake. Remove from the oven while the centers are still slightly soft—they’ll firm up as they cool.
Mistake 5: Filling Too Runny or Too Thick
Solution: If too runny, let it cool slightly before spooning. If too thick, add a spoonful of extra condensed milk and stir.
Serving and Pairing Suggestions
Serve with hot cocoa, espresso, or spiced tea
Pair with vanilla ice cream or crushed candy canes
Display on festive platters for parties or buffets
Wrap in cello bags with ribbon for edible gifts
Include on a holiday cookie board with contrasting flavors
Storage and Reheating Tips
Store in an airtight container at room temperature for up to 5 days
Refrigerate for longer freshness, up to 8 days
Freeze in single layers with wax paper between cookies for up to 2 months
Thaw at room temperature before serving
Do not microwave to reheat; let them sit at room temp for best texture
FAQs
1. Can I use peppermint extract instead of mint extract?
Yes, but peppermint has a stronger, cooler flavor—use just ¼ teaspoon if substituting.
2. Can I skip the green food coloring?
Absolutely. The flavor will be the same, just without the signature holiday hue.
3. What can I use instead of chocolate almond bark?
You can use semi-sweet chocolate chips or dark chocolate for drizzling.
4. Do I need to use a mixer, or can I mix by hand?
A mixer is preferred for creaming the butter and sugar, but it can be done by hand with some elbow grease.
5. Can these be made gluten-free?
Yes, substitute with a 1:1 gluten-free flour blend designed for baking.
Tips & Tricks
Use a small cookie scoop for even sizing and consistent baking
Make the indent before and after baking for a deeper well
For neat drizzle lines, use a piping bag or zip-top bag with a snipped corner
Let the mint center set before stacking cookies for storage
Add a few drops of peppermint oil for a stronger mint kick
Recipe Variations
Chocolate Mocha Thumbprints
Swap the mint extract for 1 teaspoon of espresso powder mixed into the white chocolate filling. Omit the green coloring. The result is rich with a coffee twist.
Raspberry Cream Thumbprints
Use melted white chocolate and raspberry jam instead of mint filling. Spoon the jam into the indent after baking and top with the drizzle.
Orange Dark Chocolate Thumbprints
Replace mint extract with ½ teaspoon orange extract. Drizzle with dark chocolate for a fruity-chocolate combo.
Candy Cane Crunch Version
Crush candy canes and sprinkle over the mint center before the drizzle sets for extra texture and holiday flair.
Final Thoughts
Watching everyone reach for these Chocolate Mint Thumbprint Cookies during our bakery’s winter week felt quietly triumphant. They weren’t flashy, but the aroma of chocolate, the pop of mint, and that hint of elegance from the drizzle made them the quiet star of the tray. It’s one of those cookies that earns its spot in your December rotation without asking.
I’ve seen them passed around in classrooms, offices, and living rooms wrapped in tinsel and laughter. Sometimes it’s not about reinventing something new, but layering familiar things chocolate, mint, sugar until they feel like a treat worth repeating. If you’ve got an oven, a little time, and someone to share them with, that’s more than enough.
Crispy Chocolate Mint Thumbprint Cookies
Course: DessertDifficulty: Easy36
servings25
minutes12
minutes15
minutesChocolate Mint Thumbprint Cookies are rich cocoa-based cookies filled with a creamy mint fudge center and drizzled in melted chocolate. They’re festive, flavorful, and perfect for holiday gatherings or cozy winter nights.
Ingredients
- For the Cookie Dough
1 cup butter, room temperature
2 cups white sugar
2 eggs
2 teaspoons vanilla extract
3 cups all-purpose flour
1 cup unsweetened cocoa powder
½ teaspoon salt
½ teaspoon baking soda
½ teaspoon baking powder
2 ounces chocolate almond bark
- For the Mint Fudge Center
1½ cups white chocolate chips
½ of a 14 oz can sweetened condensed milk
½ teaspoon mint extract
Green food coloring (as desired)
Directions
- Cream butter and sugar, add eggs and vanilla, then mix in dry ingredients. Chill if sticky.
- Roll into balls, indent, and bake at 350°F (175°C) for 12 minutes. Re-press centers and cool.
- Melt white chocolate with condensed milk, add mint and coloring, then fill centers.
- Melt almond bark, drizzle over cookies, and let set.